Getting started
Build your first report in 10 minutes
The fastest path from a new InspectorKit account to a published, branded inspection report you could hand to a real client.
By Owen Murray, founder of InspectorKit · Updated July 10, 2026
Ten minutes is a real number, not a marketing one. That is roughly how long a first run takes when you follow the steps below, and most of that time is you poking around.
Start with the practice house
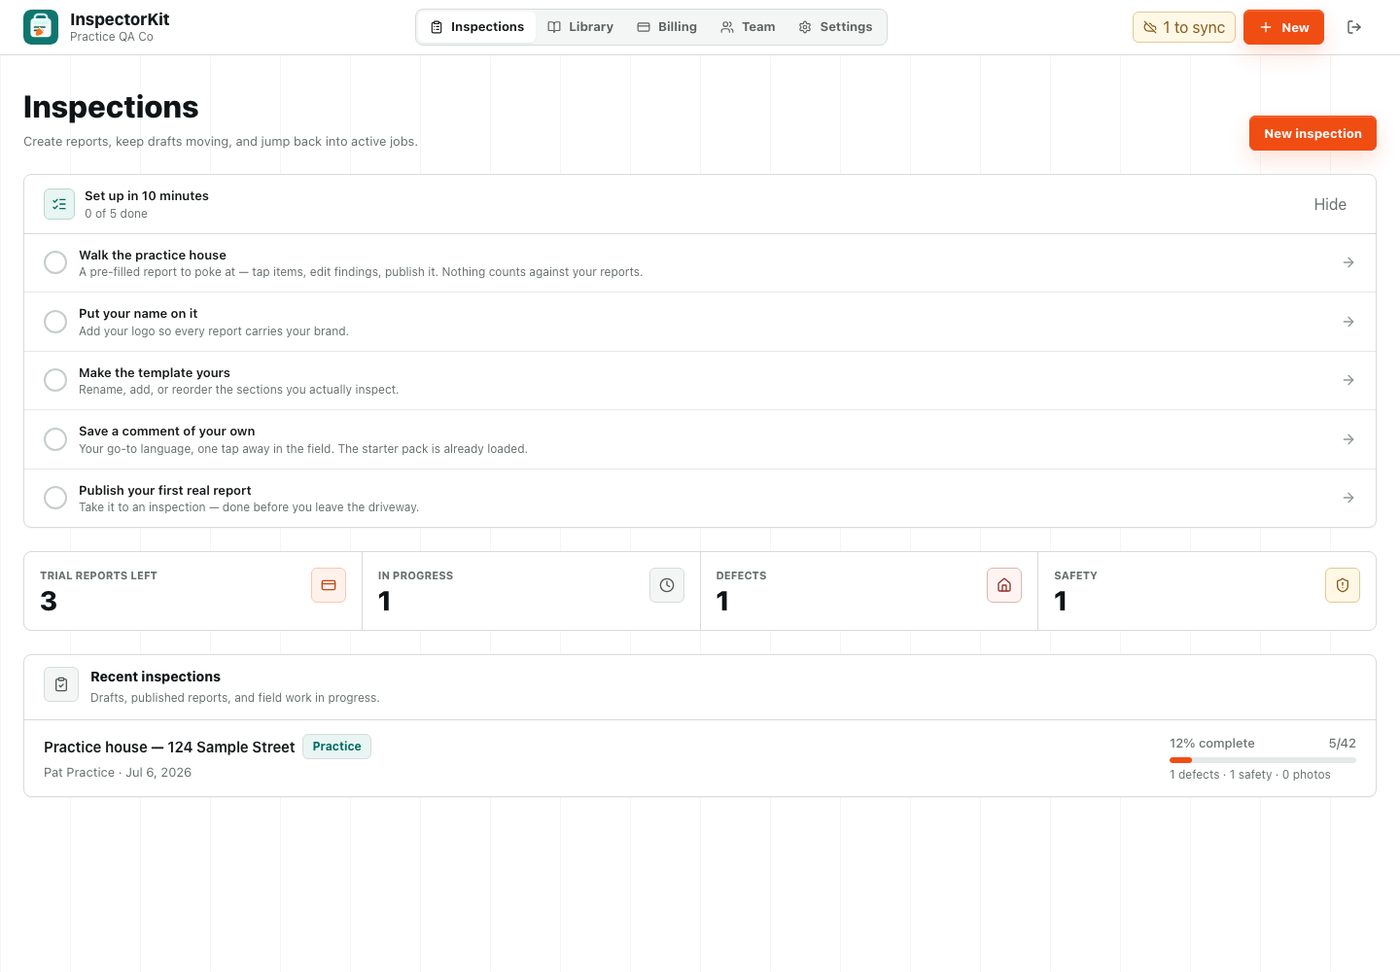
Your dashboard already has an inspection waiting called Practice house, 124 Sample Street. I seed it into every new account because clicking through a half-finished report teaches the tool faster than any tutorial I could write.
Open it and you will find five findings already filled in. A roof defect, a safety item on the GFCI protection, a couple of marginal items, and one clean functional entry. Tap through them to see how a finding is put together. Nothing you do in there counts against your reports, so edit freely. The practice house guide covers it in more detail.
Create a real inspection
Tap New inspection from the dashboard. You need four things, and only the address is truly required right now.
- Property address
- Client name and email
- Agent name, if one is involved
- Inspection date
Enter what you have and hit Create report. You land in the builder with every section of the residential template laid out on the left, roof to garage.
Work one item at a time
Pick a section, then tap an item. Each item gets a condition, an optional narrative, and photos if the finding deserves them.
The condition buttons run from Functional to Safety. Tapping one saves instantly. For items that need words, the comment library sits on the right side with prewritten narratives. One tap inserts the language into your report, and you can edit it after it lands.
Most items in a real house are fine. That is what the two bulk buttons are for. Section functional marks everything remaining in the current section, and Remaining functional does the whole report. Use them at the end so you are not tapping 40 items one by one.
Add a photo where it matters
On any item, tap the photo button and shoot or upload. After the photo lands you can tap Annotate and draw a circle right on the problem area. The circle stays attached to that exact finding, which beats scrolling a camera roll at 9 pm trying to remember which water stain went where.
Publish and look at what the client sees
Hit Publish in the top bar. You get a share link and a Preview / PDF button. Open the preview. That page, with your findings, the summary up top, and your branding once you add it, is exactly what your client receives.
From the published report you can send it to your client and agent directly, with the email going out under your business name.
That is the whole loop. Walk, tap, photo, publish. Everything else in InspectorKit exists to make those four steps faster.
Common questions
Do I need to set anything up before my first report?
No. Your account comes with the standard residential template and a starter pack of field-tested comments already loaded. Add your logo in Settings when you want reports to carry your brand, but nothing blocks you from building a report right away.
Does the practice house count against my report limit?
No. The practice house never counts toward your report limit. Only real inspections you create yourself count.